Choosing a 3D dental printer is no longer simply a matter of comparing resolution, print speed, and equipment price. As digital dentistry expands, dental practices and laboratories increasingly need printing systems that can support different applications while fitting smoothly into existing scanning, design, material, and post-processing workflows.
The right 3D printer for dental applications should therefore be evaluated as part of a complete production process. Material compatibility, printing technology, application range, workflow integration, maintenance, and scalability can all affect the practical value of the equipment.
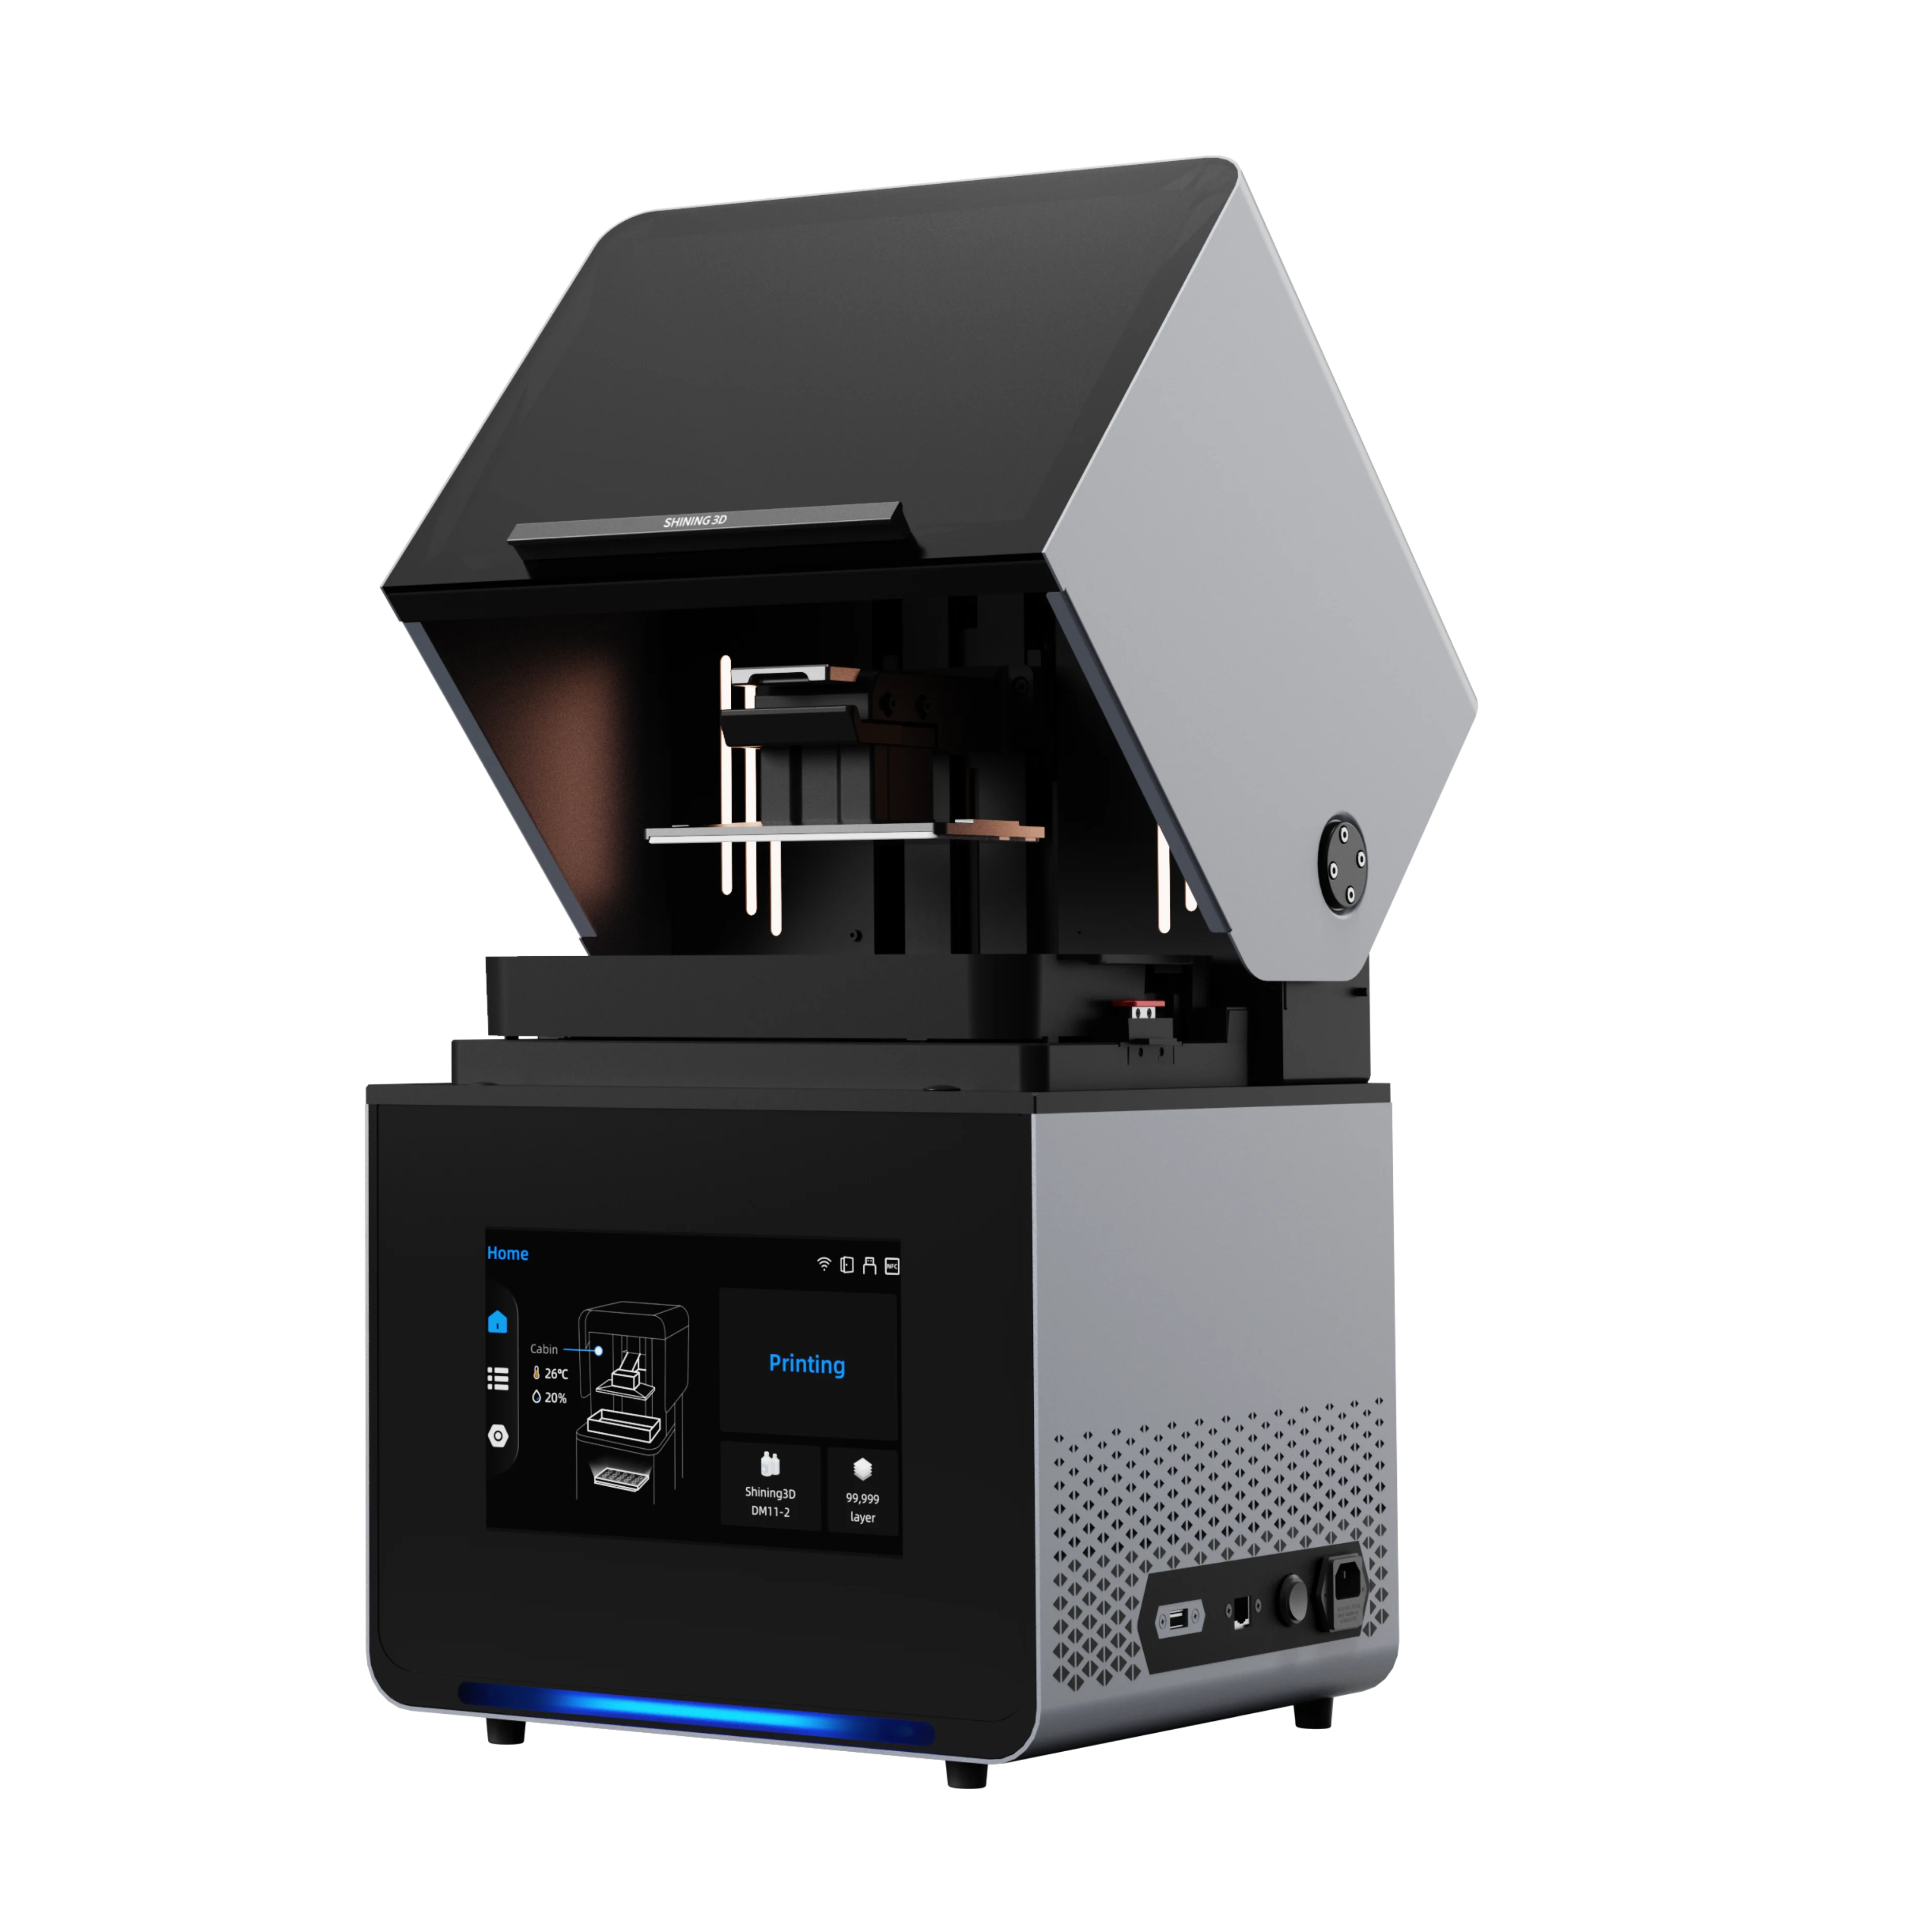
Start With Your Actual Dental Applications
The first question to ask is not “Which printer has the best specifications?” but “What do we need to produce?”
Dental printing requirements vary considerably. A workflow focused on diagnostic models may prioritize productivity and dimensional accuracy, while one producing surgical guides, splints, dentures, or temporary restorations may require different materials and processing conditions.
SHINING 3D DENTAL offers dental printing materials for applications including dental models, orthodontic models, surgical guides, gingiva masks, splints, denture bases, custom impression trays, try-in applications, and crown and bridge workflows.
Defining the primary applications first makes it easier to determine the required printer technology, build volume, compatible materials, and post-processing equipment.
DLP or LCD: Which Printing Technology Fits?
Two common technologies in dental 3D printing are Digital Light Processing, or DLP, and Liquid Crystal Display, or LCD.
DLP systems use a digital projector to expose an entire layer at once. This approach can provide consistent exposure across the build area and is commonly used where detailed dental parts and efficient production are required. LCD printers use a screen to selectively cure resin and can offer a practical balance between detail reproduction and equipment cost.
There is no universal answer as to which technology is best. The appropriate choice depends on application requirements, expected production volume, material compatibility, and budget.
SHINING 3D DENTAL’s current portfolio includes both DLP and LCD systems. Its DLP range includes the AccuFab-F1 and compact Ceramix-Nano, while the AccuFab-CEL and AccuFab-Aris use LCD technology.
For buyers comparing a 3D dental printer, understanding the technology behind the specification is more useful than selecting equipment based on resolution alone.
Look Beyond Resolution and Print Speed
Resolution and print speed are important, but they do not tell the complete story.
A printer may have a fine pixel size yet require extensive manual preparation or post-processing. Conversely, a system with practical resolution and a well-integrated workflow may deliver more useful productivity in everyday production.
When evaluating a 3D printer for dental applications, consider layer thickness, exposure consistency, dimensional accuracy, surface quality, build volume, printing orientation, and the number of parts that can be produced in one cycle.
SHINING 3D DENTAL’s listed printers use 405 nm light sources, while the portfolio provides adjustable layer thicknesses of 50 to 100 μm depending on the model. The company’s comparison also shows differences in build size, connectivity, detection functions, and printer configuration across its DLP and LCD systems.
These differences matter because a printer designed for compact chairside production may have very different priorities from one intended for higher-volume laboratory workflows.
Material Compatibility Should Be a Core Selection Criteria
The resin is just as important as the printer. Different dental applications require materials with different mechanical, optical, and handling characteristics.
Before selecting a 3D dental printer, verify which materials are supported and whether they match your intended applications. It is also worth checking whether the system is limited to proprietary materials or provides an open material environment.
SHINING 3D DENTAL describes its dental printing platform as supporting a wide range of resin materials. Its open material system is intended to provide flexibility for different applications and can support compatible third-party resins in addition to SHINING 3D’s own validated materials.
For users, an open material approach can provide greater flexibility as application requirements change. However, each resin should still be evaluated according to its intended use, regulatory status, validated printing parameters, and post-processing requirements.
Consider the Complete Scan-to-Print Workflow
A printer does not operate independently from the rest of a digital dental workflow. The process typically begins with data capture, followed by design, print preparation, fabrication, post-processing, inspection, and delivery.
If files must be exported manually between multiple unrelated systems, unnecessary steps can accumulate. Software compatibility and connectivity can therefore have a meaningful effect on daily productivity.
SHINING 3D DENTAL describes its ecosystem as covering scanning, design, printing, materials, and post-processing. Its digital workflow is designed to connect these stages rather than treating the printer as an isolated piece of equipment.
The company also provides design tools such as CreTemp, CreSplint, AccuDesign, and CreIBT, with compatibility shown across several of its dental printer models.
For a practice or laboratory, this type of integration can reduce file handling and make it easier to establish repeatable production procedures.
Do Not Overlook Post-Processing
Printing is only one stage of resin production. Washing, curing, support removal, finishing, and inspection can all contribute to the final turnaround time.
A printer that produces parts quickly may not provide an efficient workflow if post-processing remains highly manual.
SHINING 3D DENTAL offers dedicated post-processing systems including FabWash, FabCure N2, and FabCure 2. The company positions these systems as part of an integrated workflow designed to provide consistent washing and curing performance.
When evaluating a 3D printer for dental production, estimate the total time from digital file preparation to finished part rather than focusing exclusively on the printer’s advertised print cycle.
Evaluate Equipment Size, Connectivity, and Maintenance
Physical installation requirements can become important once a printer enters daily production.
A compact printer may be preferable for chairside environments where available space is limited. Larger systems may be more appropriate when higher production capacity or additional features are required.
For example, SHINING 3D DENTAL lists the Ceramix-Nano at approximately 2 kg and 87 × 131 × 275.5 mm, while the AccuFab-F1 is listed at 23 kg with dimensions of 330 × 350 × 575 mm. The portfolio therefore provides different configurations for different operating environments.
Connectivity is another practical consideration. Depending on the model, SHINING 3D DENTAL lists USB, Wi-Fi, and Ethernet connectivity options. Printer functions such as platform detection, resin detection, residue detection, and environmental monitoring also vary between models.
These features may not appear as important as print resolution, but they can influence everyday operation and troubleshooting.
Think About Capacity and Future Requirements
Equipment selection should also consider how the workflow may develop over time.
If only a small number of models are produced each day, a compact system may be sufficient. Higher production volumes may justify a larger build platform or multiple printers. Producing several different applications may also make material flexibility more important.
Instead of choosing equipment based solely on today’s workload, estimate expected case volume, application expansion, staffing, and available production space.
SHINING 3D DENTAL’s portfolio includes multiple printer configurations and both DLP and LCD technologies, allowing users to compare systems according to production requirements rather than adopting a single configuration for every workflow.
Build the Decision Around Total Workflow Value
A professional 3D dental printer should be evaluated through the entire production chain. Print quality matters, but so do material compatibility, software integration, post-processing, equipment footprint, maintenance, connectivity, and expected workload.
SHINING 3D DENTAL takes an ecosystem approach that connects scanning, design, printing, materials, and post-processing. Its current printer portfolio includes DLP and LCD systems with different configurations for applications ranging from models and surgical guides to splints, dentures, and temporary restorations.
For anyone comparing a 3D printer for dental production, the most practical approach is to define applications first, establish workflow requirements second, and then compare equipment against those needs. This helps prevent overpaying for unnecessary features while ensuring the selected system has enough flexibility for future requirements.
The best choice is ultimately the printer that fits the actual workflow, materials, production volume, workspace, and quality requirements. By evaluating the complete digital production process rather than one specification in isolation, practices and laboratories can make a more informed investment and establish a reliable foundation for continued digital dentistry development.
